Prerequisites
Before integrating, ensure you have:Authentication System
An authentication system that generates standards-compliant JWTs or is OAuth 2.0 compliant.
User Identifier
JWTs that include at least one consistent user identifier claim (like
sub or email).Public Key Endpoint
A publicly accessible endpoint where Suki can fetch your public keys to verify tokens.
Completed Onboarding
Completed Partner onboarding and registered your JWKS endpoint URL with Suki.
How authentication works
Suki uses a federated authentication model called token exchange. Instead of creating separate user accounts, Suki trusts your existing authentication system. The process:- A user signs in to your application using your identity provider
- Your system generates a JWT token for that user
- You send this token (called
partnerToken) to Suki when initializing APIs or SDKs - Suki verifies the token using your public keys and grants access
partnerToken must be a standard that Suki can verify using your public keys.
Authentication flow
Key concepts
Identity provider (IDP)
An Identity Provider is the system that handles user authentication for your application. When users sign in, your IDP verifies their credentials and confirms their identity. This can be a third-party service like Okta or Azure AD, or a system you built yourself.Partner token (JWT)
ThepartnerToken is a JWT (JSON Web Token) that your identity provider creates after successfully authenticating a user. You pass this token to Suki’s SDKs or APIs during initialization to prove the user’s identity.
Requirements
- Must be signed using the RS256 algorithm (RSA Signature with SHA-256)
- Must be issued by your identity provider after user authentication
- Must include user identifier claims that Suki can verify
Required claims
YourpartnerToken must include one or more of these JWT claims:
exp- Token expiration time (Unix timestamp). The token must not be expired when you send it to Suki.iss- Token issuer (usually your identity provider’s URL or identifier).aud- Token audience (who the token is intended for).- User Identifier - A claim that uniquely identifies the user, such as
sub,email, or a custom claim likeuserId.
During onboarding, tell Suki which identifier field your tokens use. If your tokens have multiple identifiers, specify which one is the primary identifier.
Public key sharing methods
Suki needs your public keys to verify your tokens. Choose one of these methods to share them:| Method | Description |
|---|---|
| JWKS_URL | (Recommended) Host your public keys at a public JWKS URL endpoint. |
| STORED_SECRET | Share your public key with Suki; we store it securely in our database. |
| OKTA | Use Okta as your identity provider; share your Okta issuer URL. |
| JWTASSERTION | Share your public key as a JWT signed by Suki’s private key. |
JWKS URL (recommended)
A JWKS (JSON Web Key Set) URL is a public HTTPS endpoint where Suki can fetch your public keys. Suki uses these keys to verify that yourpartnerToken was signed by your identity provider and hasn’t been tampered with.
Example JWKS URL: https://sdp.suki.ai/api/auth/.well-known/jwks-pub.json
Example JWKS Response:
JSON
How to find your JWKS URL
If you use Okta, Auth0, AWS Cognito, Azure AD, or Google Identity, they provide this URL automatically. Where to find it:- Check your identity provider’s developer console → application settings → JWKS or OpenID Connect configuration
- Often available at:
https://your-idp-domain/.well-known/openid-configuration - If you can’t find it, contact your identity provider or watch this tutorial video
Generating the partner token
Use OAuth 2.0 / OpenID Connect (recommended)
Using OAuth 2.0 or OpenID Connect is the recommended approach. Your identity provider (like Okta or Azure AD) handles user login and issues an ID token (a JWT). This ID token becomes yourpartnerToken that you pass to Suki.
Why this is secure:
- Your identity provider handles authentication
- Neither Suki nor your app handles user passwords
- Tokens are cryptographically signed and verified
JWT
Use jwt.io to decode and inspect JWT tokens. Paste your token to see its claims and verify the structure.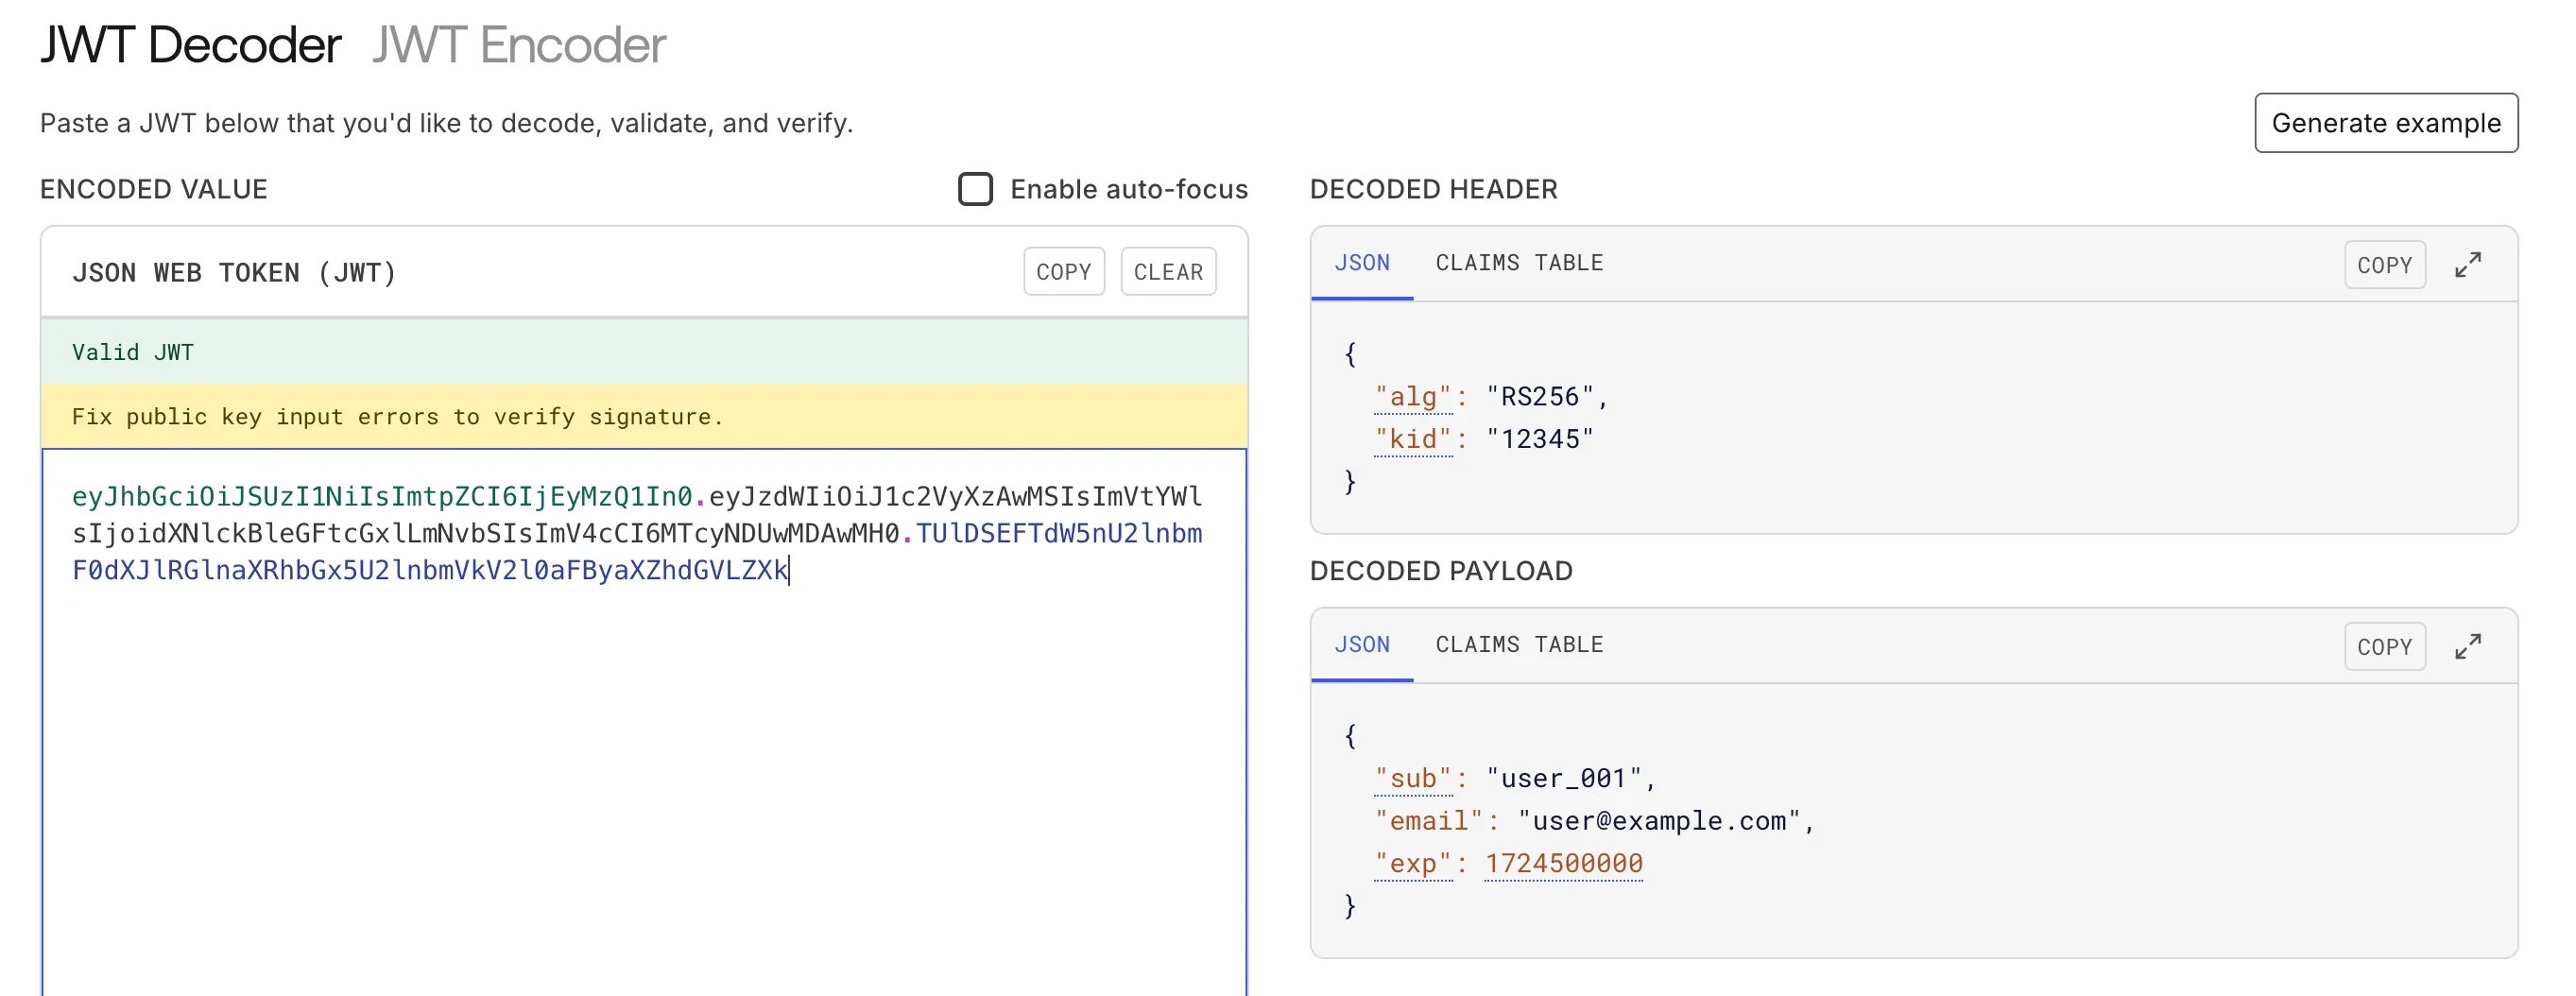
Using a custom authentication system
If you don’t use OAuth 2.0, you can generate JWTs with your own authentication system. Make sure your tokens meet the requirements in this guide:- Signed with RS256 algorithm
- Include all required claims
- Properly formatted as a standard JWT
When you pass a
partnerToken to Suki, we use your partnerId to find your registered JWKS URL and verify the token’s signature. We trust that you’ve properly authenticated the user.Authentication flow steps
User signs in
A user signs in to your application using your identity provider. After successful authentication, your IDP issues a JWT token (
partnerToken).Initialize SDK
Your application initializes the Suki SDK with the
partnerToken and your partnerId. The SDK sends these to Suki’s backend for validation.Token validation
Suki validates your token:
- Uses your
partnerIdto find your partner configuration - Fetches your public keys from your registered JWKS endpoint
- Verifies the token’s digital signature using those keys
- Confirms the token hasn’t expired and contains required claims
Receive Suki token
If validation succeeds, Suki returns a Suki-specific token. The SDK:
- Stores this token securely (you don’t need to manage it)
- Automatically includes it in all API requests
- Refreshes it automatically when needed
Troubleshooting
Common authentication issues and how to fix them:Missing User Identifier
Missing User Identifier
Error: 400 Bad Request - “Missing required identifier claim”Fix:
- Check that your
partnerTokenincludes the user identifier claim you specified during onboarding - Ensure the identifier value is not empty or null
- If your token structure changed, contact Suki support to update your configuration
Invalid or Expired Token
Invalid or Expired Token
Error: 401 Unauthorized - “Token validation failed”Fix:
- Verify your application generates valid JWTs
- Check the
expclaim to ensure the token hasn’t expired - Confirm all required claims (
exp,iss,aud, user identifier) are present - Use jwt.io to decode and inspect your token
JWKS Endpoint Not Accessible
JWKS Endpoint Not Accessible
Error: 502 Bad Gateway or timeoutFix:
- Ensure your JWKS endpoint URL is publicly accessible over HTTPS
- Check firewall rules or IP restrictions that might block Suki’s servers
- Test the URL in a browser or with
curlto confirm it’s reachable
Wrong Partner ID
Wrong Partner ID
Error: 400 Bad Request - “Unknown partner identifier”Fix:
- Verify the
partnerIdyou’re using matches the one Suki provided during onboarding - Check that your JWKS URL in Suki’s system matches your actual endpoint URL
Malformed Token
Malformed Token
Error: 400 Bad Request - “Malformed token”Fix:
- Ensure the token follows standard JWT format:
header.payload.signature - Verify the token is properly Base64URL encoded
- Check that the
algin the header matches your signing algorithm (should be RS256)
Key Rotation Issues
Key Rotation Issues
Error: Authentication fails after previously workingFix:
- If you rotated your signing keys, update your JWKS endpoint with the new public keys
- Verify the
kid(Key ID) in your JWT header matches a key in your JWKS endpoint - Ensure old keys remain available during the transition period
Next steps
Once authentication is working, you’re ready to integrate Suki’s features:- Web SDK - Add pre-built UI components to your web application
- Mobile SDK - Integrate ambient intelligence into iOS apps
- Headless Web SDK - Build custom UIs with React hooks
- API reference - Use REST APIs for maximum flexibility